DIY Tennis Court Resurfacing in North Las Vegas: Step-by-Step Guide, Materials & Tips
Websitness Team
on
April 23, 2026

DIY Tennis Court Resurfacing in North Las Vegas: Step-by-Step Guide, Materials & Tips
DIY tennis court resurfacing in North Las Vegas is a practical and budget-friendly solution for homeowners, schools, and recreational property managers looking to restore aging courts without paying for full professional reconstruction. In Nevada’s harsh desert climate, outdoor courts are constantly exposed to extreme sun, intense UV rays, dry heat, and occasional sudden rainstorms—all of which contribute to cracking, fading, peeling coatings, and worn-out surfaces.
Over time, even well-built courts begin to show signs of deterioration. Cracks expand, colors fade, traction declines, and ball bounce becomes inconsistent. If left untreated, these issues worsen and eventually lead to costly structural repairs. Fortunately, with the right materials, preparation, and techniques, tennis court restoration DIY projects can significantly improve appearance, playability, and lifespan.
While professional resurfacing is always ideal for large-scale or heavily damaged courts, a carefully executed DIY resurfacing project can be highly effective for courts with moderate wear.
When Should You Resurface a Tennis Court?
Knowing when to resurface is critical. Acting early prevents deeper structural damage and keeps repair costs manageable.
Visible Surface Damage
The most obvious sign your court needs attention is visible deterioration.
Common Signs Include:
- Small to medium surface cracks
- Uneven low spots
- Flaking acrylic coatings
- Peeling paint layers
Minor cracks may seem harmless at first, but they quickly spread when exposed to heat expansion and moisture intrusion.
Prompt backyard court resurfacing helps stop small problems before they become major structural failures.
Poor Playing Conditions
Surface wear affects gameplay quality long before severe damage appears.
Gameplay Warning Signs:
- Unpredictable ball bounce
- Slippery dusty surface texture
- Reduced traction underfoot
- Faded or hard-to-see line markings
If the court feels inconsistent during play, resurfacing is likely overdue.
Weather Damage in North Las Vegas
Nevada’s climate accelerates court aging faster than many other regions.
Environmental Stress Factors:
- Extreme summer temperatures
- Intense UV radiation
- Dry heat expansion cycles
- Occasional flash storm runoff
Because of these conditions, tennis court repair Nevada property owners perform often needs to occur more frequently than in milder climates.
Many North Las Vegas courts require resurfacing every 4–6 years depending on usage.
DIY Tennis Court Resurfacing Steps
A successful resurfacing project follows a structured process. Skipping steps reduces durability and quality.
Step 1 – Clean the Entire Surface
Cleaning is the essential first stage before any repairs begin.
Cleaning Process:
- Remove leaves, dirt, and loose debris
- Sweep entire court thoroughly
- Pressure wash lightly to remove embedded grime
- Allow full drying time before next step
A clean surface ensures stronger bonding for repair compounds and resurfacing materials.
Never apply coatings over dirty or damp courts.
Step 2 – Repair Cracks and Imperfections
Crack repair is critical before resurfacing begins.
Repair Materials Needed:
- Acrylic crack filler
- Patch compounds
- Leveling trowels
Repair Process:
- Fill cracks completely
- Smooth repaired areas evenly
- Allow proper curing time
- Sand rough spots if needed
Skipping crack repair is one of the most common DIY mistakes.
Proper crack repair strengthens long-term outdoor game court repair durability.
Step 3 – Apply Acrylic Resurfacer
Acrylic resurfacer creates a fresh bonding layer before color coatings are added.
Purpose of Acrylic Resurfacer:
- Seals porous worn surfaces
- Fills small texture imperfections
- Creates smooth even base
- Improves paint adhesion
Apply evenly using:
- Heavy-duty rollers
- Court squeegees
- Spray systems if available
Acrylic court resurfacing creates the foundation for professional-looking results.
Step 4 – Apply Court Coating System
This stage restores color, traction, and playing texture.
Use Only:
Sport-grade acrylic athletic court paint
Application Tips:
- Apply 2–3 coats for best durability
- Allow drying between coats
- Maintain even thickness throughout court
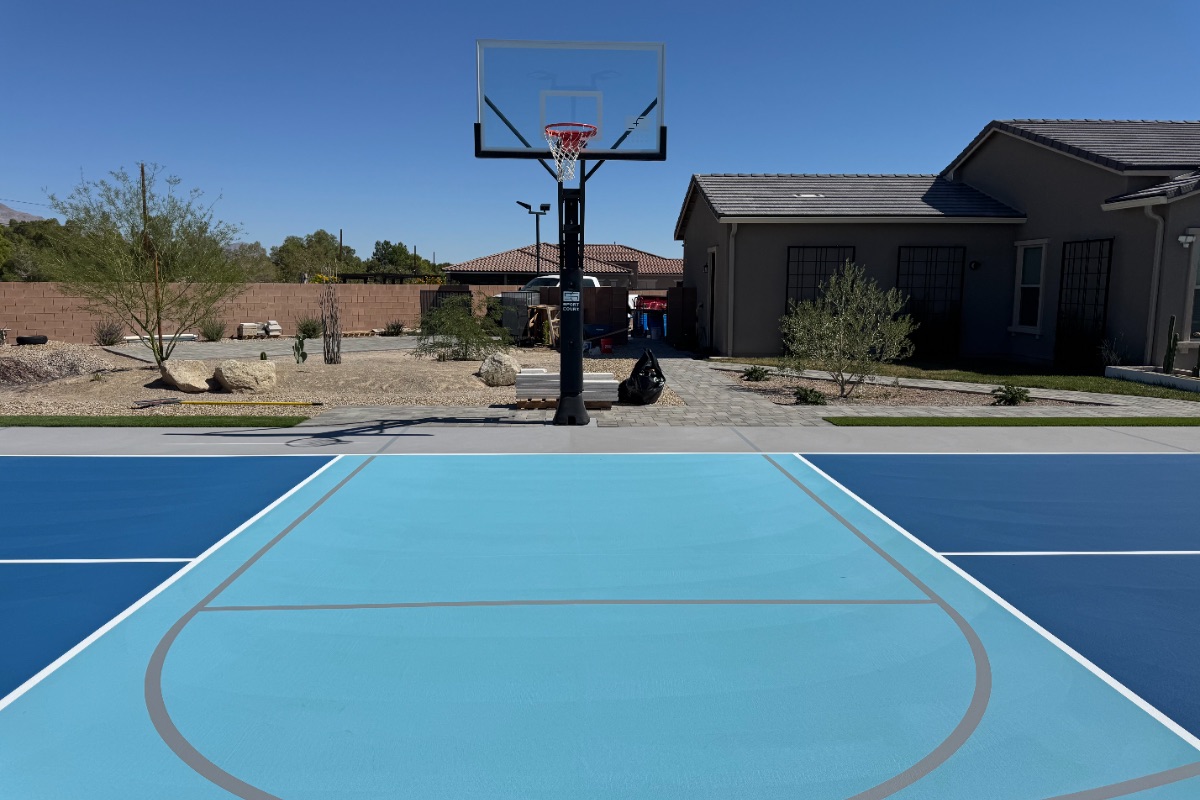
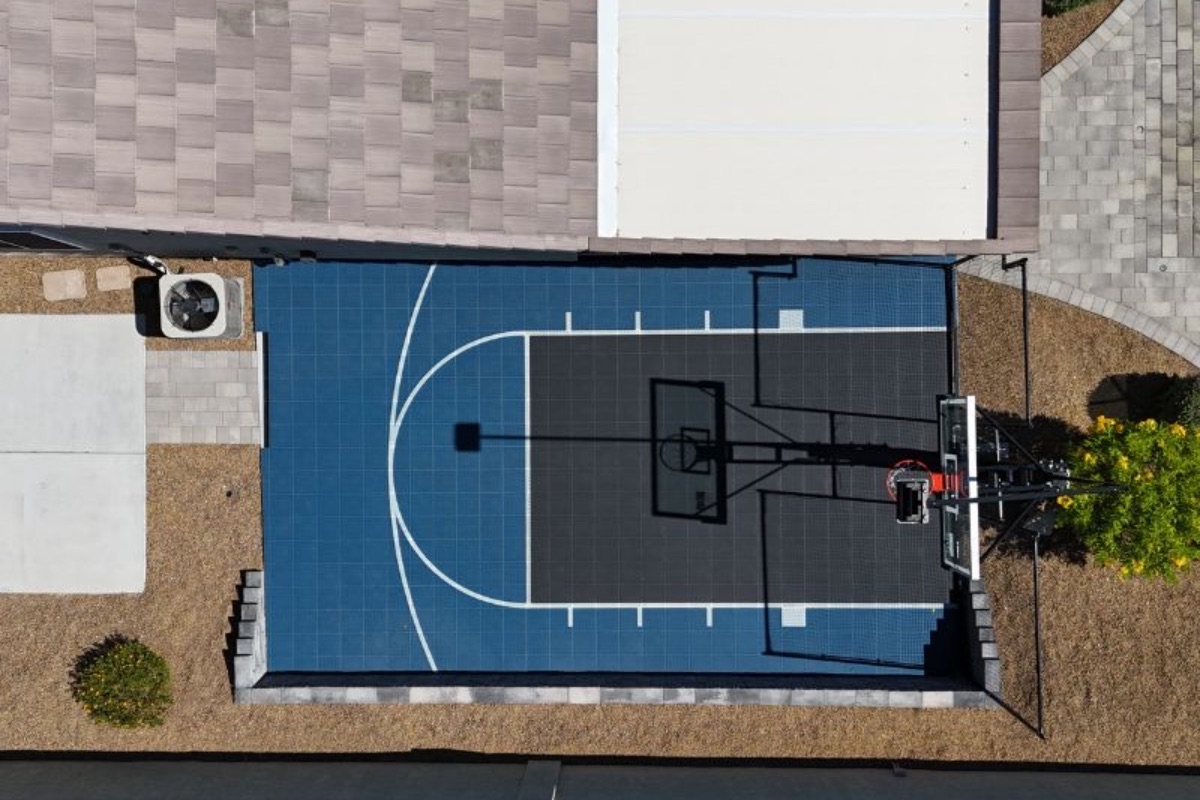
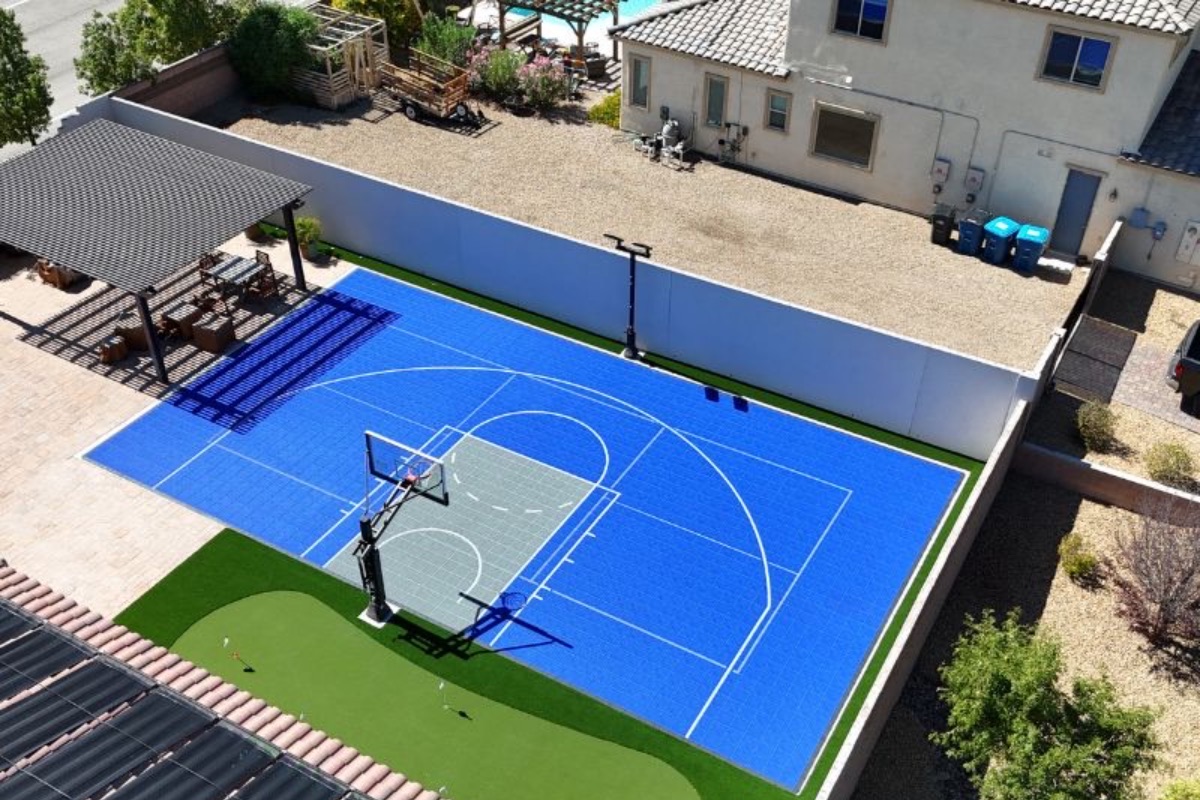
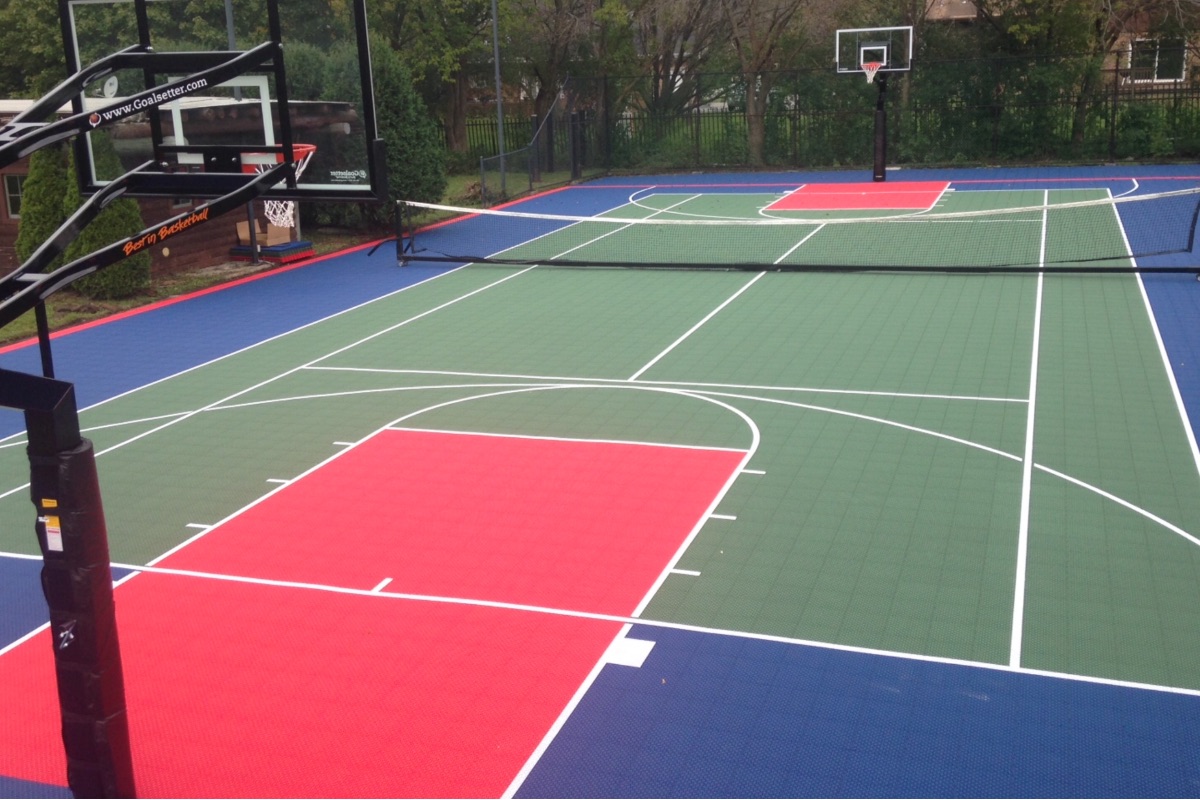
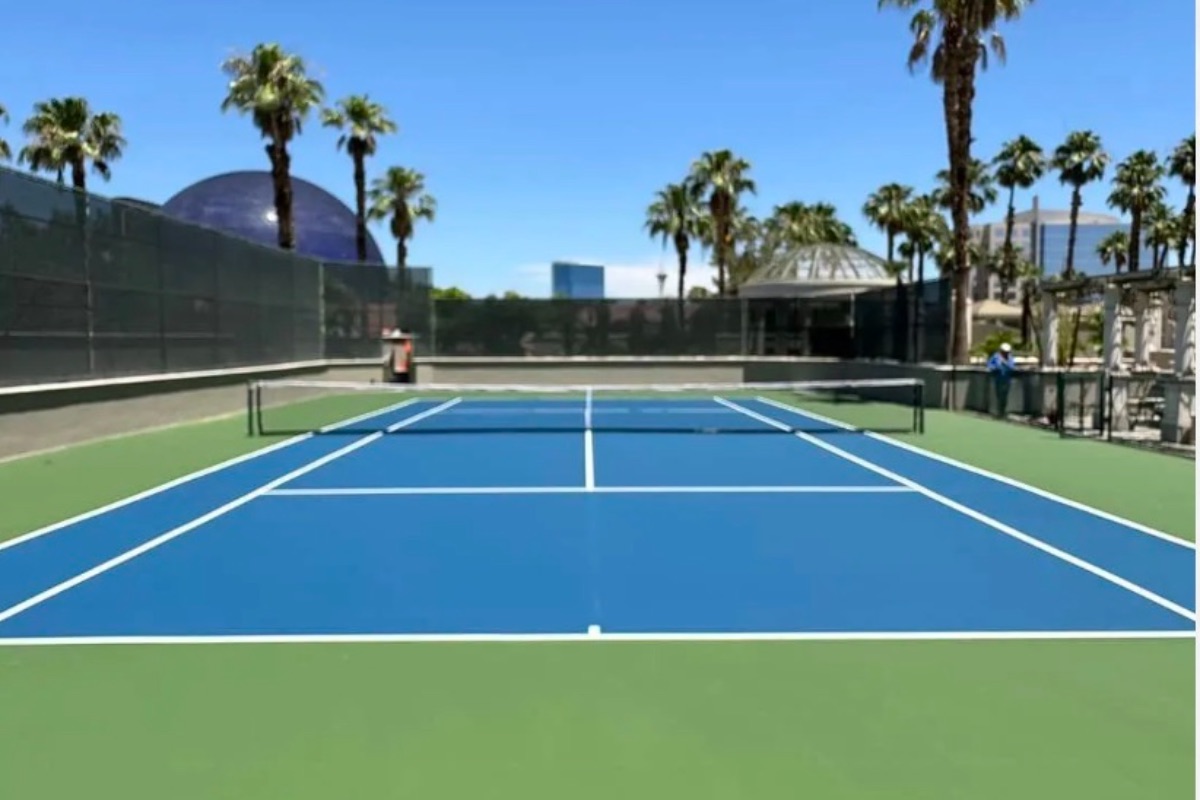
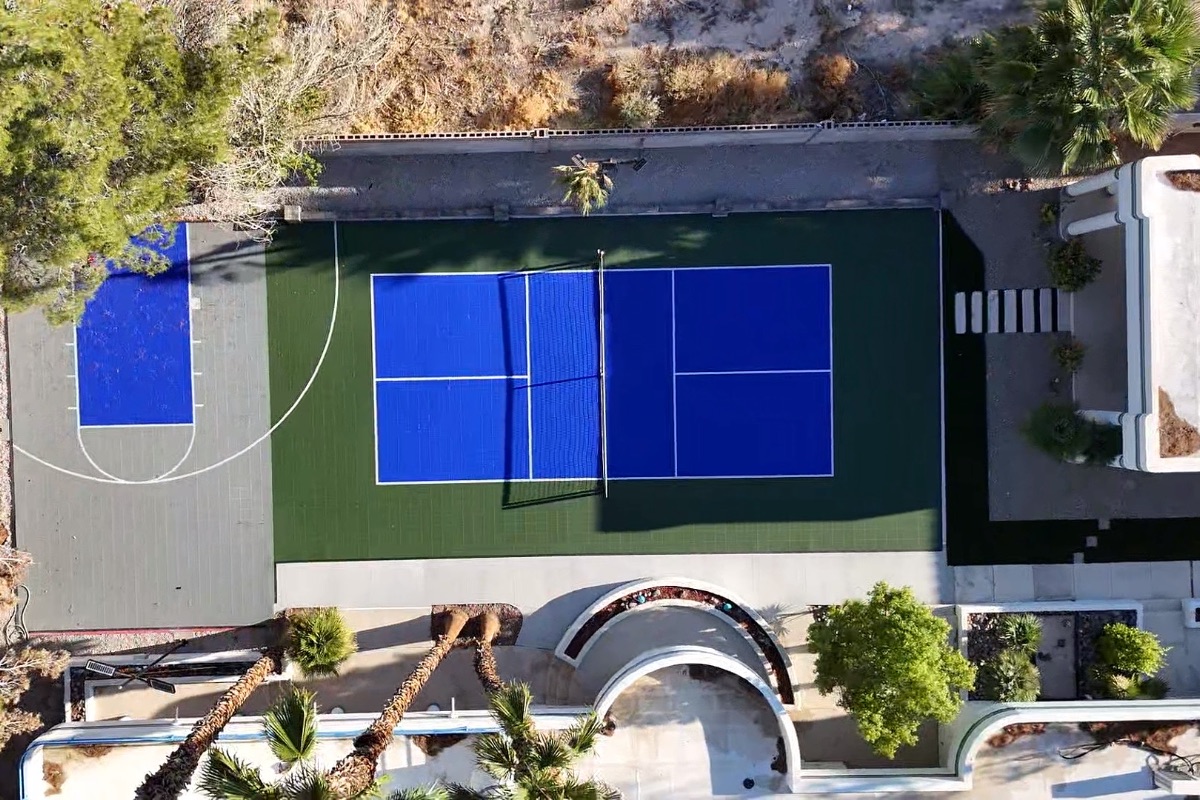
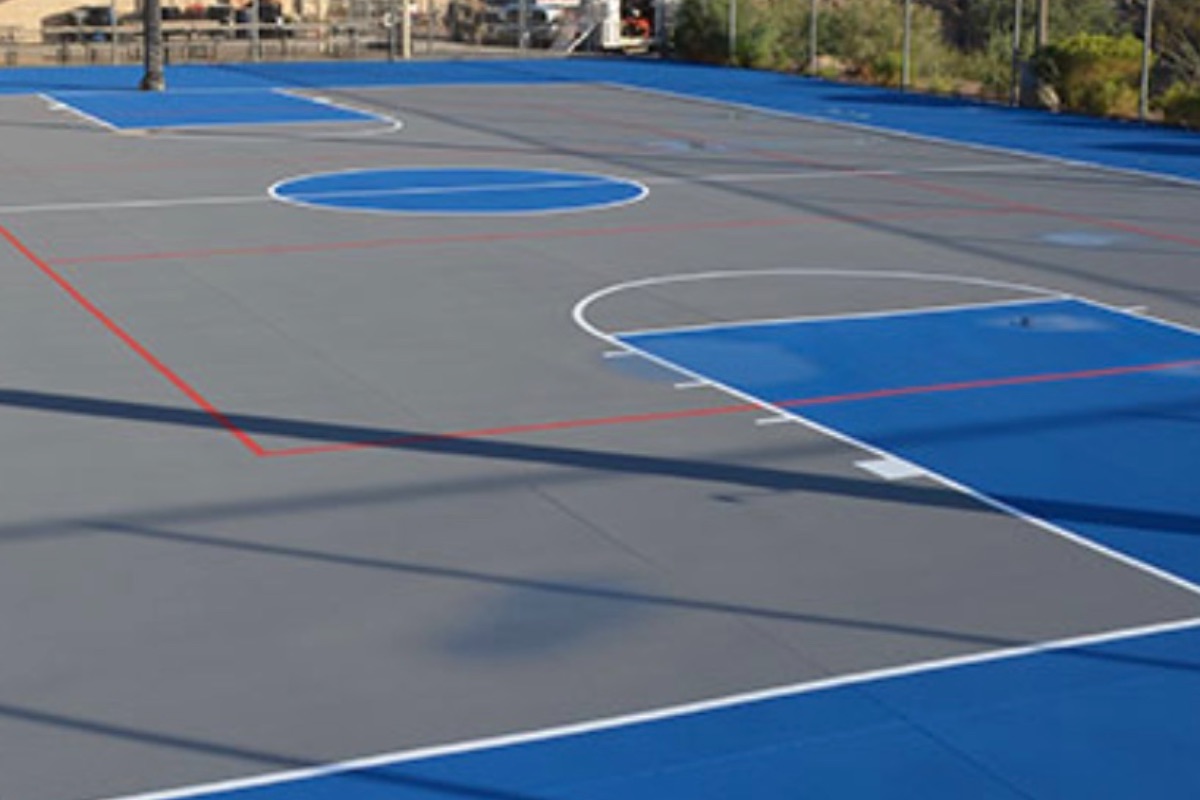
Popular court colors include:
- Blue and green combinations
- Red and green classic schemes
- Gray neutral tones
Proper coating restores both beauty and performance.
Step 5 – Add Court Striping
Once coatings dry completely, repaint all game lines.
Striping Process:
- Measure official dimensions carefully
- Use chalk lines for guidance
- Apply painter’s tape for sharp edges
- Paint lines evenly with striping paint
Optional upgrades include:
- Pickleball overlay lines
- Multi-sport striping additions
Accurate striping ensures regulation play and professional appearance.
Comparison Table – DIY vs Professional Resurfacing
|
Option |
Best For |
Main Advantage |
Main Limitation |
|
DIY Resurfacing |
Moderate surface wear |
Lower cost |
More labor-intensive |
|
Professional Resurfacing |
Severe damage/full renewal |
Expert precision |
Higher cost |
|
DIY Spot Repair Only |
Minor isolated cracks |
Fast repair |
Temporary solution |
|
Full Reconstruction |
Structural base failure |
Complete rebuild |
Highest expense |
Materials Needed for DIY Resurfacing
Having proper materials makes the process smoother and more effective.
Essential Materials Checklist:
- Acrylic resurfacer
- Sport-grade court paint
- Acrylic crack filler compound
- Rollers or spray equipment
- Measuring tape
- Chalk line reel
- Painter’s tape
- Cleaning broom and blower
Never substitute regular household paint for sports coatings.
Only court-grade materials deliver lasting performance.
Common DIY Mistakes to Avoid
Even experienced DIYers can make costly errors.
Skipping Crack Repair Before Coating
Paint alone cannot hide structural cracks.
Unrepaired cracks reopen quickly beneath coatings.
Applying Paint on Damp Surface
Moisture trapped beneath coatings causes:
- Bubbling
- Peeling
- Poor adhesion failure
Always allow full drying time.
Uneven Coating Thickness
Thick spots dry poorly and create inconsistent bounce.
Apply coatings evenly across all sections.
Poor Line Alignment
Incorrect striping affects gameplay accuracy.
Always double-check measurements before painting.
Using Non-Sport-Grade Materials
Generic paints fade faster and lack athletic traction properties.
Use only specialized court products.
Benefits of Resurfacing Your Court
DIY resurfacing offers many practical advantages.
Key Benefits Include:
Restores Safe Playing Conditions
Smooth surfaces reduce slips and trip hazards.
Improves Ball Bounce Consistency
Even coatings restore predictable gameplay.
Enhances Backyard Appearance
Freshly resurfaced courts dramatically improve curb appeal.
Extends Court Lifespan
Timely resurfacing delays expensive reconstruction.
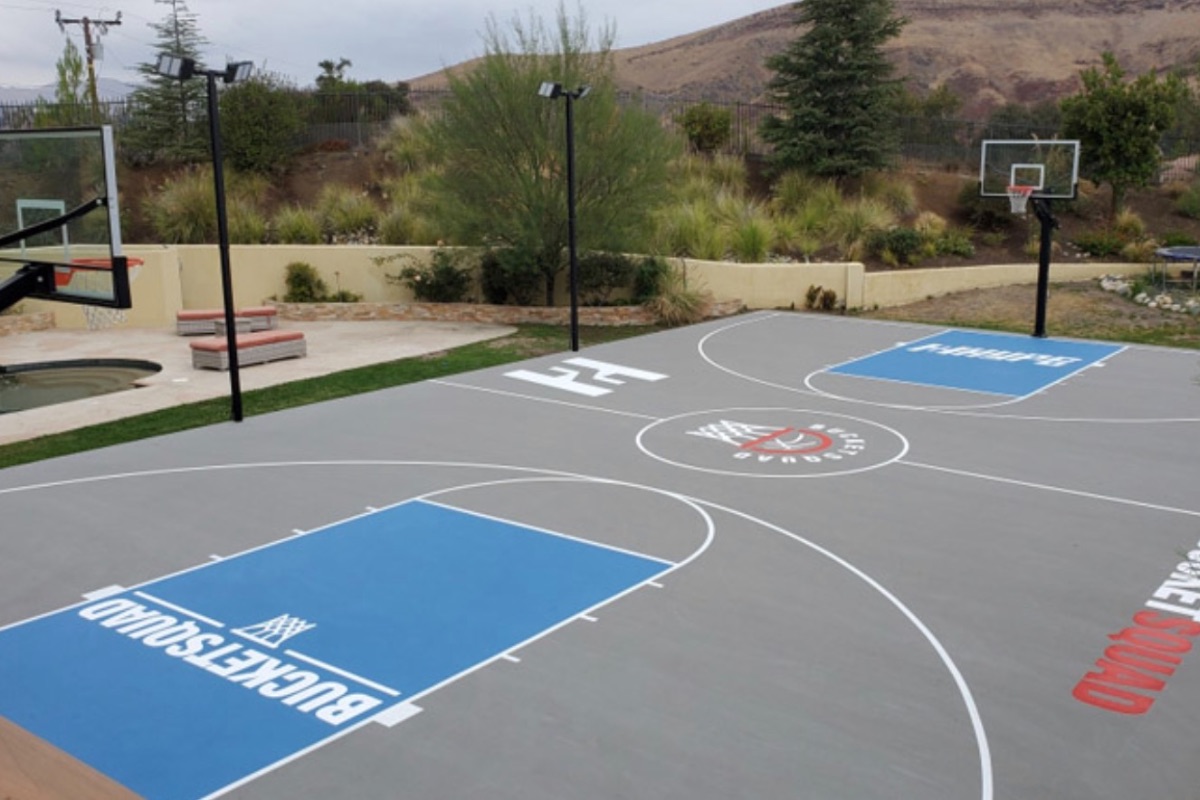
Enables Multi-Use Conversion
You can add pickleball lines or other sport layouts.
Resurfacing creates new recreational possibilities.
Can You Convert a Tennis Court into a Pickleball Court?
Yes—and resurfacing is the perfect time to do it.
Many homeowners combine tennis court restoration DIY with pickleball conversion by adding:
- Pickleball striping overlays
- Adjustable net systems
- Multi-use color coding
This increases versatility without expanding space.
Frequently Asked Questions (FAQs)
Can you paint pickleball lines on a tennis court?
Yes, pickleball lines are commonly added during resurfacing to create dual-use multi-sport and game courtts.
How do you resurface a tennis court?
The process includes cleaning, crack repair, resurfacer application, color coating, and restriping the court.
How to paint a tennis court yourself?
Use court-grade acrylic paint, rollers or spray equipment, and follow official measurement guidelines carefully.
What kind of paint do you use on a tennis court?
Always use acrylic sport and game courtt paint specifically formulated for athletic surfaces.
How to turn a tennis court into a pickleball court?
Add official pickleball line striping, proper net placement, and optional color-coded overlays during resurfacing.
DIY tennis court resurfacing North Las Vegas homeowners undertake can be an excellent way to revive worn courts while saving money. With proper preparation, quality materials, and careful attention to detail, resurfacing can restore both beauty and performance to aging courts damaged by Nevada’s harsh desert climate.
Whether you are improving a private backyard court, performing outdoor game court repair, or planning a tennis-to-pickleball conversion, a well-executed resurfacing project adds years of safe, enjoyable play without the expense of full reconstruction.